
Phoenixadmin , fastest way to scaffold admin panel in phoenix framework.
Creating backend admin portal is almost a routine thing to do for many projects. Instead of spending hours to build user authentication and everything, it can be setup in 3 minutes.
Phoenix make it easier for us to create crud application with its generator. However after a while, the generator felt too basic. It is up to us to modify it as our will.
However, unlike the customer facing web applciation, most of the time backend admin portal is not really need to follow some design, as long as it is readable and follow common design style such as material design, it is generally acceptable.
In phonix world, out of the box, it is already super easy to generate CRUD html interface. Even further, there are several library we can use to achieve similar effect as built in django admin in python world, or RailsAdmin in ruby world such as Ex_admin and recently Torch. If you need it as a library in your dependency, they can be added.
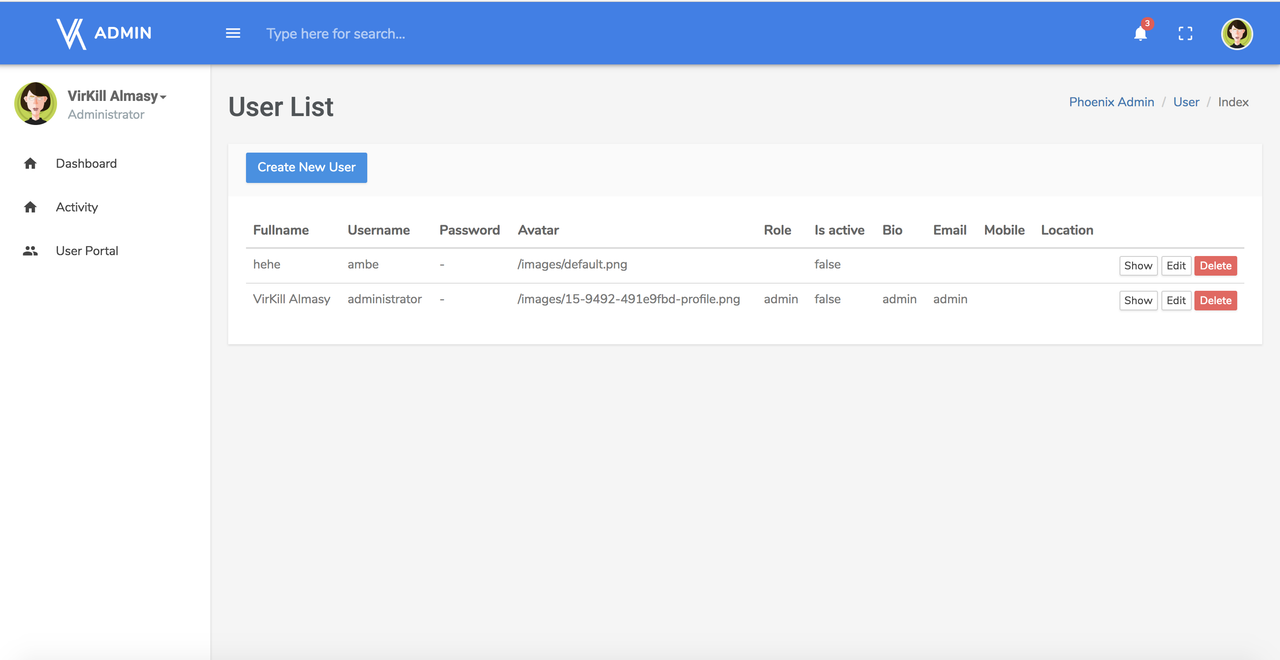
Instead of a library, Phoenixadmin is a boilerplate which is something you deploy in the beginning of the project and not in the middle. This is what it looks like:
How to install:
Assuming you have a working elixir and phoenix version 1.3
- Install dependencies with
mix deps.get - Check your database setting at
config/dev.exsand match your postgresql credential - Create and migrate your database with
mix ecto.create && mix ecto.migrate - Install Node.js dependencies with
cd assets && npm install - Run seed
mix run priv/repo/seeds.exs(if you are from asset folder, dont forget to back to root project foldercd ..) - Start Phoenix endpoint with
mix phx.server - Login with username ‘administrator’ and passsword ‘administrator’
Now you can visit localhost:4000 from your browser.
How to generate new page
You can start do the regular way, using generator or such. For example:
mix phx.gen.html Content Post post title:string content:string is_published:boolean
OR
mix phoenixadmin.gen.html Content Post post title:string content:string is_published:boolean
The later one will give nicer html output.
Put resources "/post", PostController in the router /lib/Yourapp_web/router.ex
Run migration mix ecto.migrate
Add link to your menu at ‘/lib/Yourapp_web/templates/layout/app.html.eex’
Now you got CMS!
How can I rename my project
Yeah, that is an issue where you use boilerplate instead of library. Here’s some suggested workaround:
Assuming your project name is ‘Yourproject’
- Use your text editor to replace all occurance of ‘Phoenixadmin’ to ‘Yourproject’ (See the capital first letter )
- Use your text editor to replace all occurance of ‘phoenixadmin’ to ‘yourproject’ (all small letter )
- Use your text editor to replace all occurance of ‘Phoenix Admin’ to ‘Your Project’
- Use your file manager (finder for mac or explorer for windows) to replace filename from phoenixadmin and phoenixadmin_web to yourproject and yourproject_web